Cooking dry beans is one of my common routines. I usually cook them in large batches and then freeze the extras. This process works on Pintos, Black, Navy, Kidney, Split Peas, Lentils…you get the idea. The only real difference is the cooking time. Beans are easy to cook, but the drawback is the time. They simply take time and planning ahead. This is also why I do a large batch and freeze the extras.
First some basic information dealing with beans.
- 1 Cup dried = about 2 1/2 Cups cooked
- 1 lb. dry kidney beans = 1 1/2 Cups dry = 6 Cups cooked
- 1 lb. dry navy beans = 2 1/3 Cups dry = 6 Cups cooked
- 1 lb. dry lentils = 2 1/3 Cups dry = 6 Cups cooked
- 1 lb. dry = 5-6 Cups cooked
- 1-14. oz can of beans = 1 1/2 Cups cooked beans
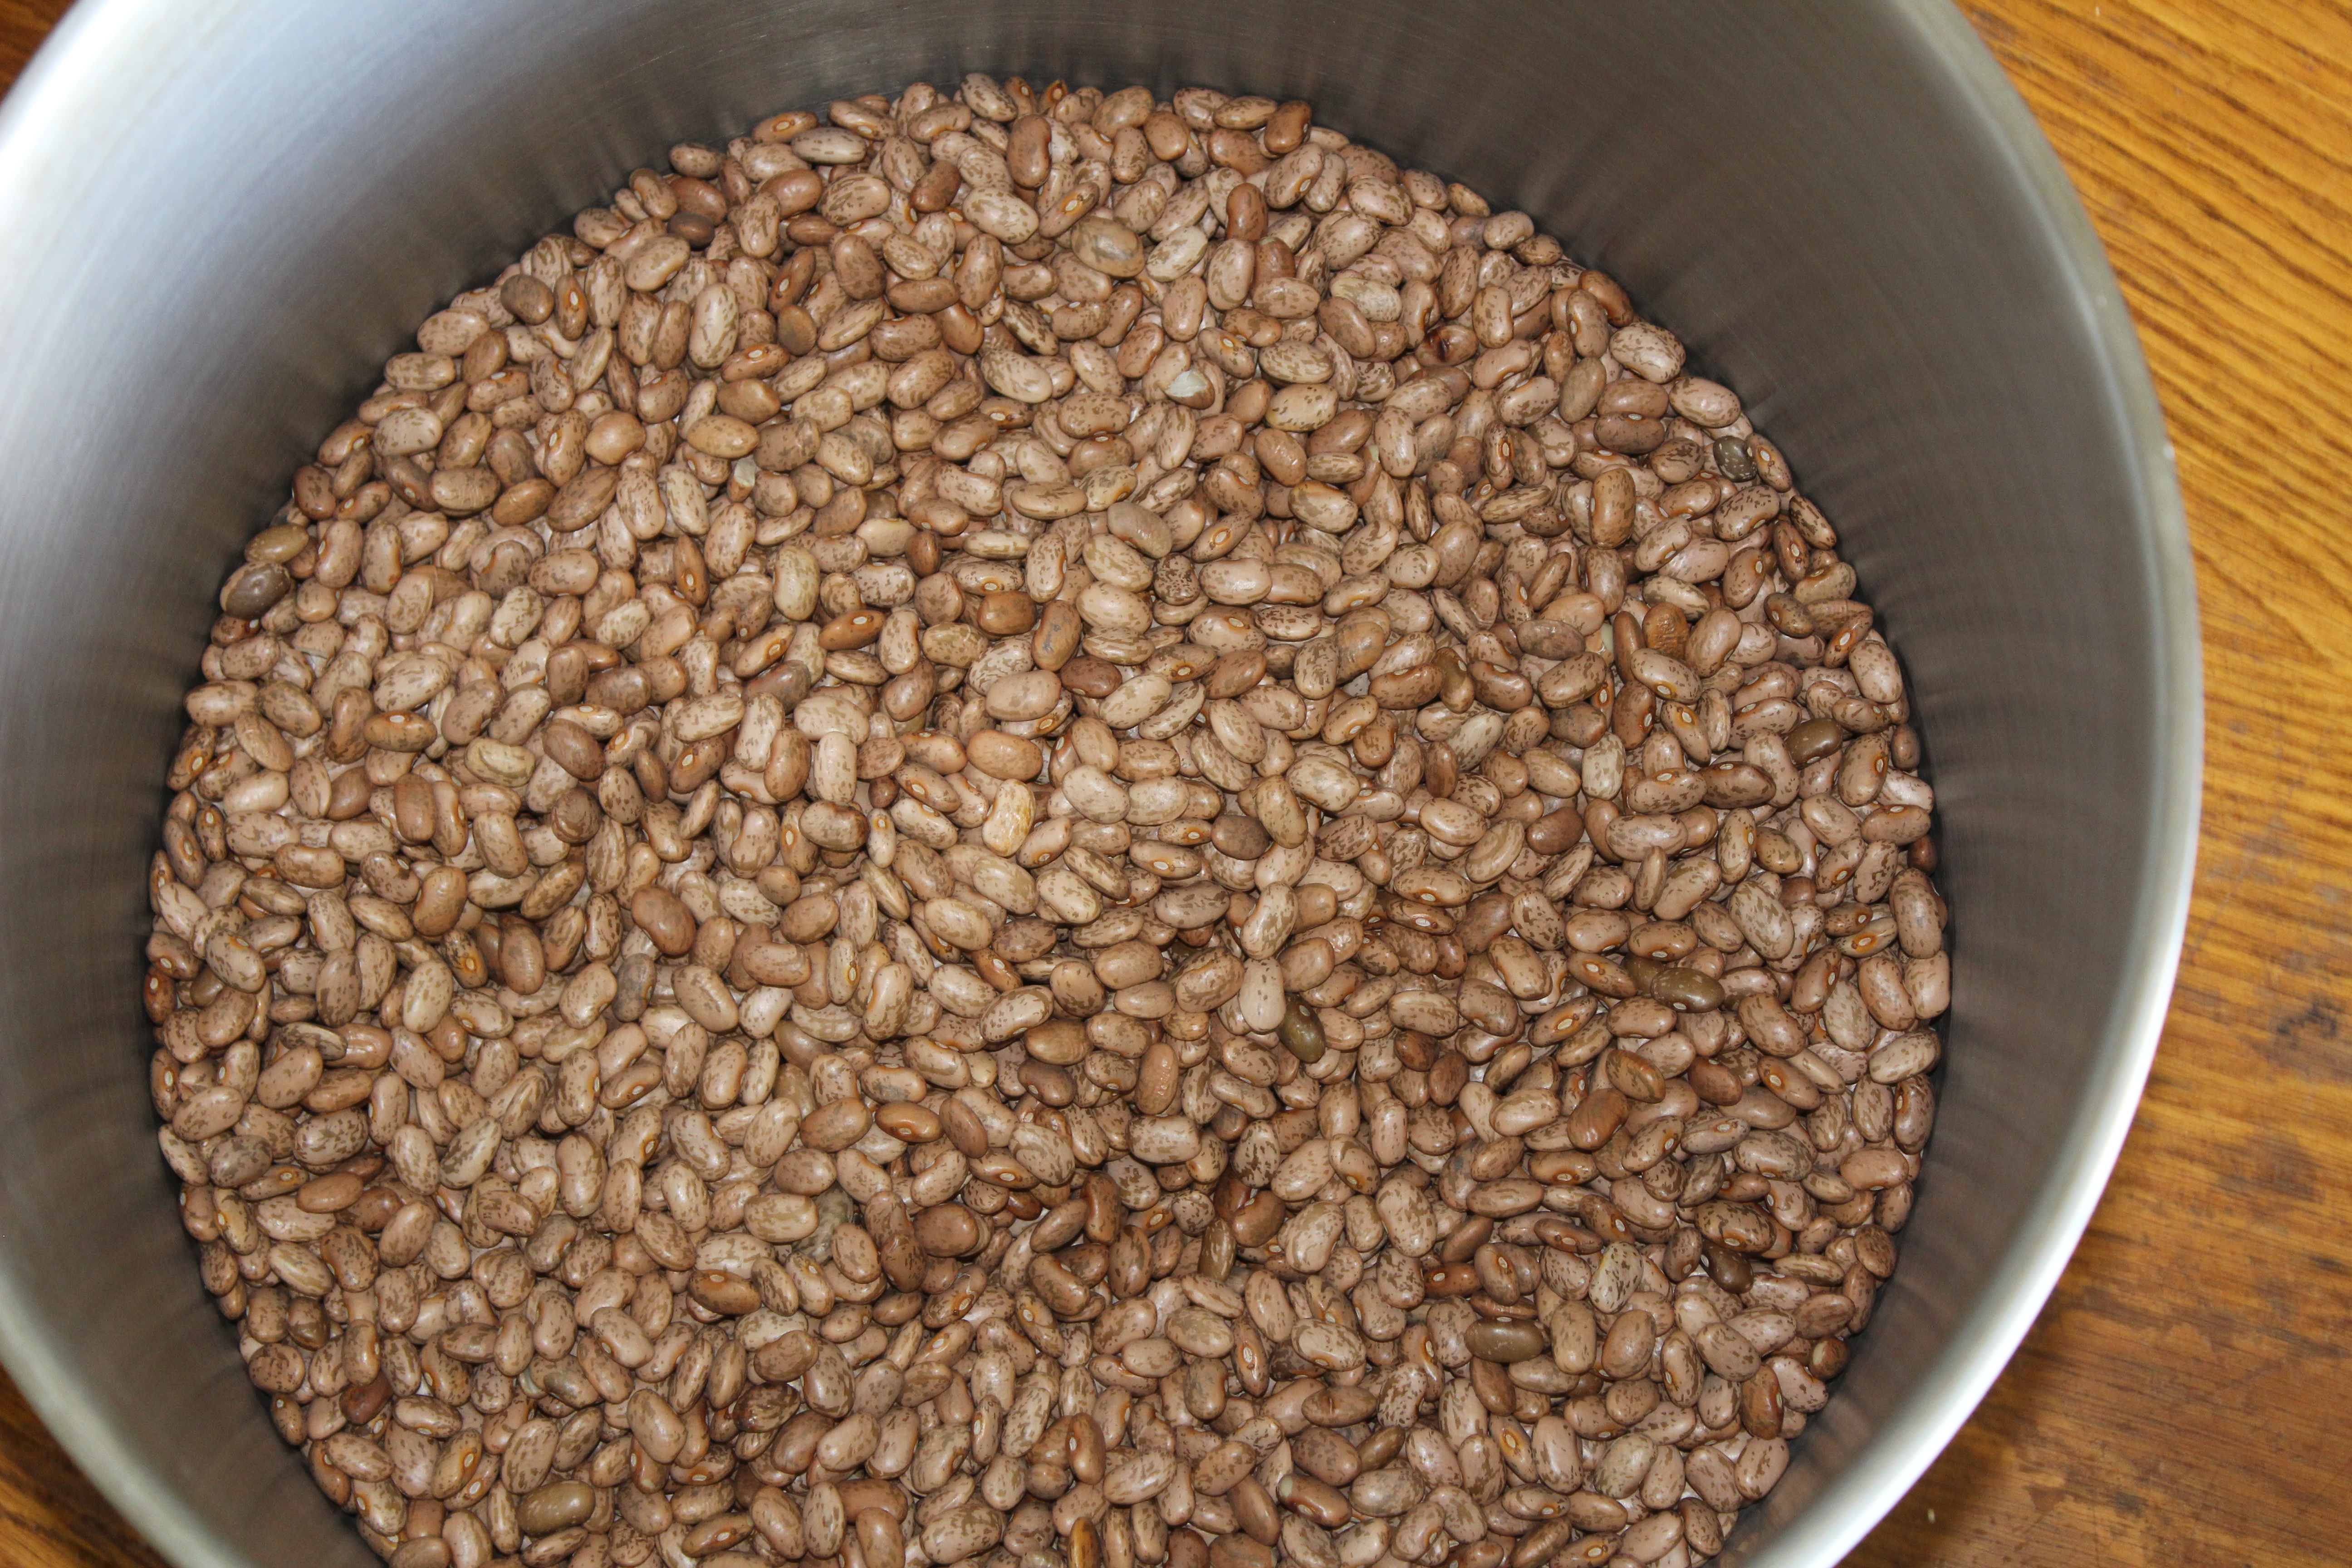
Pinto Beans – ready to go
1. Soak
Soak your beans. This first step is easy, but the most time consuming. Measure your beans into a pan large enough to hold them after they have soaked. Plan for a pan that will hold 2-3 times more volume than the amount of beans you are soaking. I usually measure out 10-11 cups of dry beans into a 12 quart pan, but an 8 quart would be large enough. If you want to measure the water to cover the beans use about 4 cups of water to 1 cup of beans. I don’t measure. I just fill the pan until it is about 2/3 more water than beans. An optional step but one that helps take some of the gassiness out of the bean, is to add about 1 Tablespoon of kefir for every cup of beans. You could also substitute another acidic liquid like whey, lemon juice, apple cider vinegar, or yogurt. Now just let it sit for 8 hours or overnight. I usually do this in the evening and leave the pan on the counter or the stove for the night.
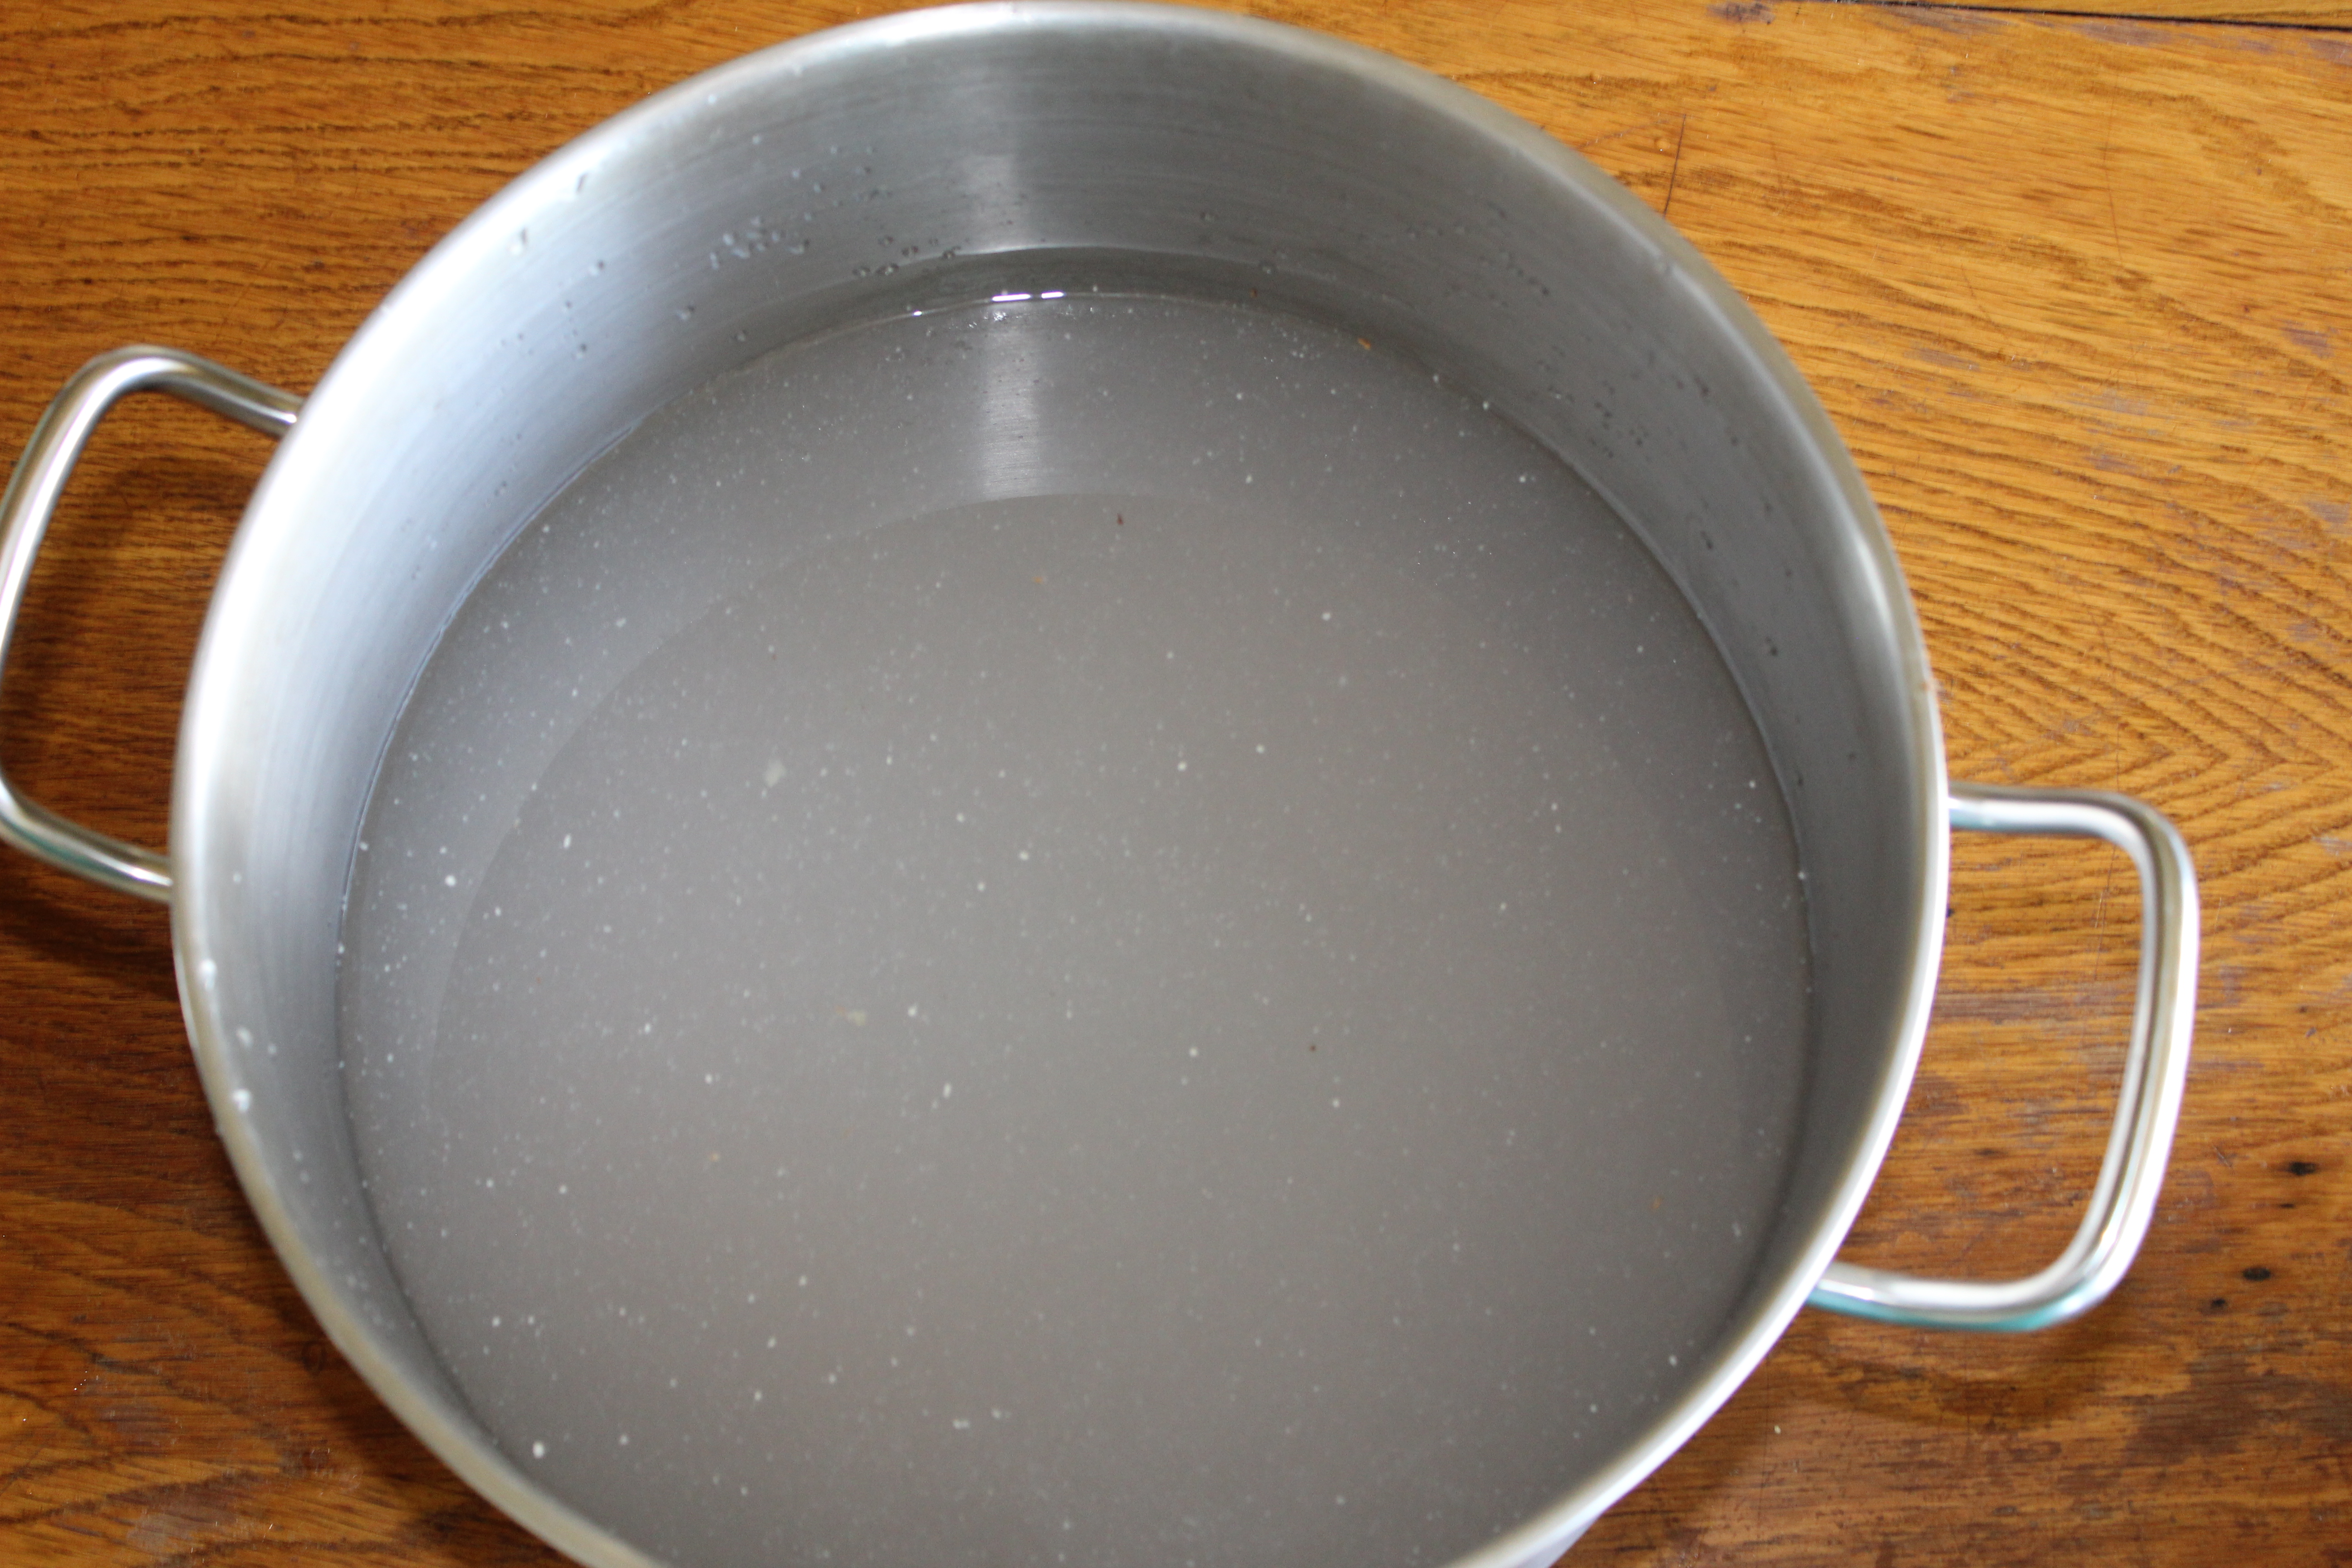
Beans – water and kefir added
2. Rinse
The next morning, drain the beans and rinse with water. Return to the beans to the pan and add water to cover more than 3 or so inches.
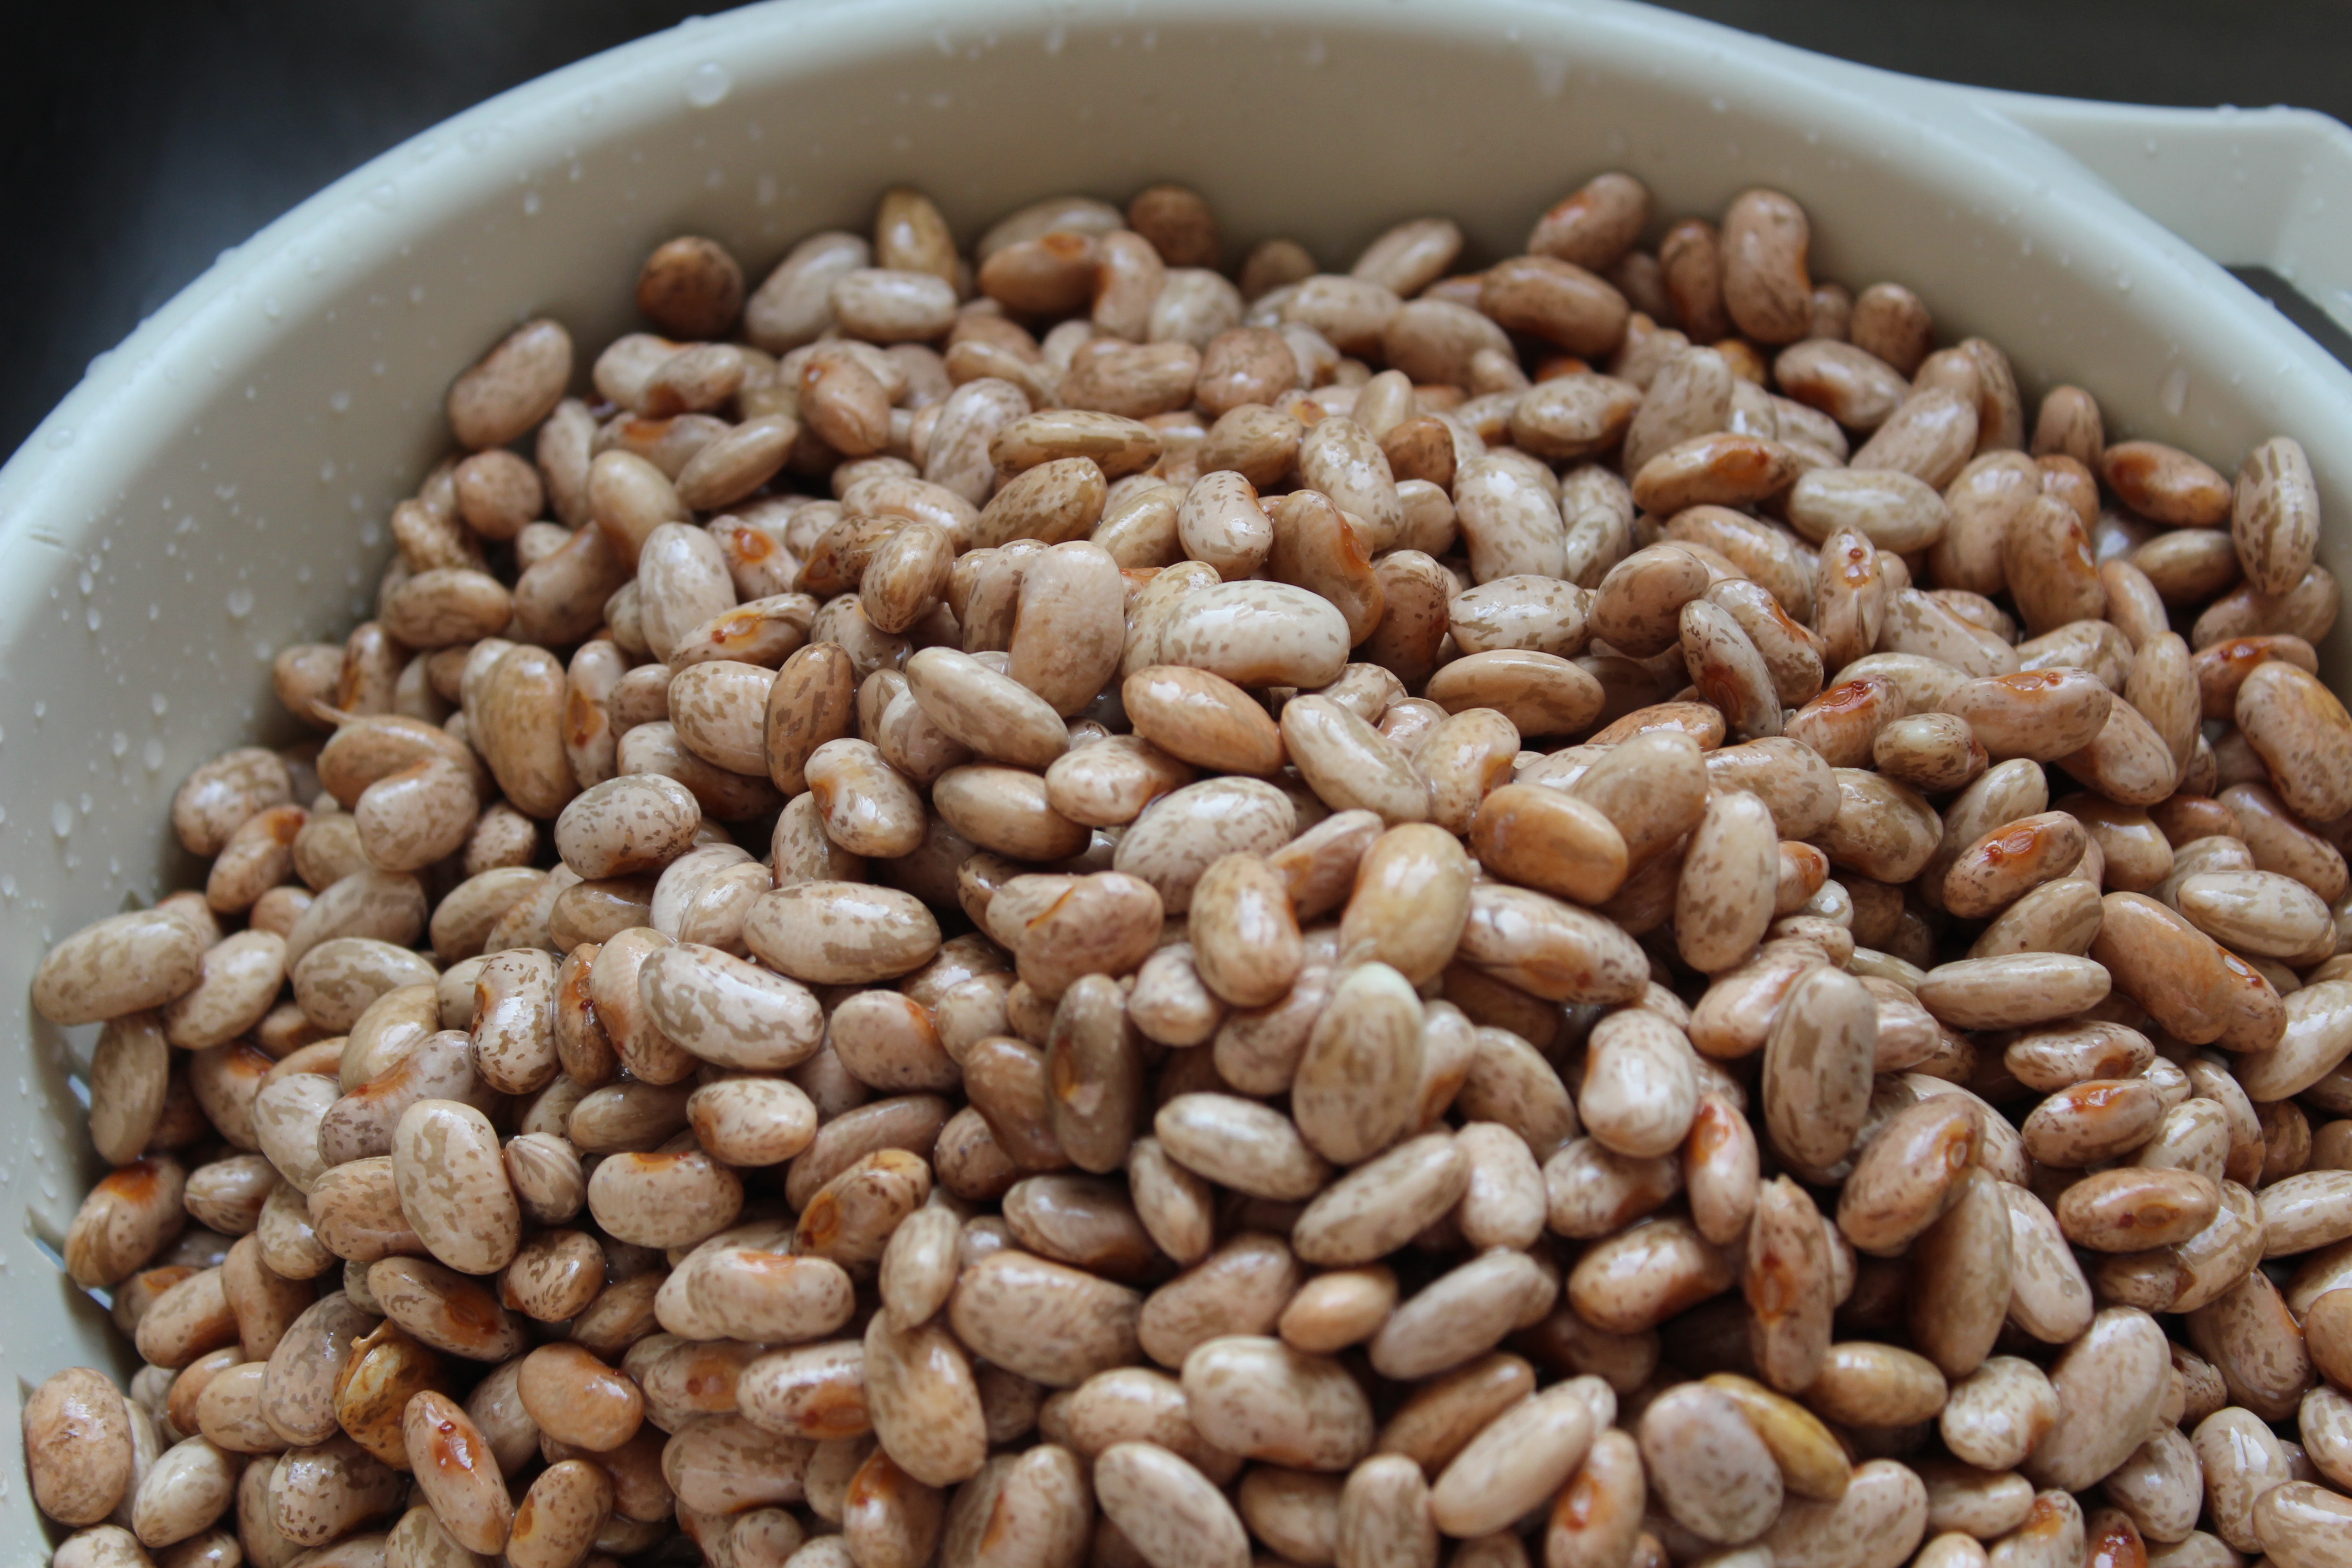
Beans – soaked and rinsed
3. Cook
Set the pan on the stove and bring the beans up to boiling. Adding 1 Tablespoon fat (butter, olive oil, palm shortening), will reduce the foaming. Again I don’t measure I just put a bit in, probably closer to a teaspoon. Reduce heat and simmer until beans are tender. I just use a spoon to dip one out and taste it, until I find they are done. Time depends on the bean you are cooking. A rough time scale would be:
- less than an hour for small beans and lentils
- 2-3 hours for kidney, navy, pinto beans, black
- 3-4 hours for larger beans
4. Packaging
After the beans are tender, then drain and rinse again. I now set aside whatever I going to use immediately, then I package the rest into quart canning jars and set them in the freezer. To use, just thaw. It will take 3-4 hours sitting on the counter, or you can shorten the time by placing in bowl or pan of hot water and changing the water as it cools.

Beans – ready for the freezer
Some final thoughts
Cooking dry beans in large batches will save time later on, when you use the frozen beans. Cooking dry beans will save you money as they are very inexpensive in the dry form. These are also better for you than those you can buy in the can for a couple reasons. One, you remove the additives and preservatives found in canned goods. Two, the high heat and pressure from the canning isn’t destroying some of the nutrients. And Three, if you add the kefir during the soaking process you are also neutralizing the phytic acids and enzyme inhibitors. This also helps to break down the more complex sugars in the bean. Breaking down these acids, enzymes and sugars, actually helps your body to be able to use the vitamins and minerals present in the bean.
Enjoy.
Leave a Reply